The Tinder Gold is a persuasive feature in this dating app. It has overridden the Tinder Plus subscriptions due to its extraordinary services. Charles is a busy Tinder user and one day he had a desire to subscribe for Tinder Gold because of its attractive services. Later on, he could not manage the subscription cost amidst his essential budget. Now he is trying hard to learn about the methods to cancel Tinder Gold subscription.
Similarly, many are facing this issue and do not know how to get rid of the subscription cost of Tinder Gold. It is easy to subscribe for any feature in the dating app because the built-in program is set accordingly. The issue arises when you want to cancel the subscribed functionalities in the app. Identify the right controls to carry out the cancellation procedure.
Part 1: Do you want to cancel Tinder Gold or not?
Benefits of Tinder Gold
- Matching is feasible without the swiping procedure
- The boost and super likes ensure many people nearby your locality view your profile.
- Hide your age and location details in your profile
Cons of Tinder Gold
- The subscription cost is high
- The included features in this scheme seem to be available in the free version too.
- This feature does nothing to persuade the other members in this platform.
Why do you want to cancel the subscription of Tinder Gold?
- Due to the cost related to the scheme
- If the given features do not interest anymore
- Content with the free version
- Subscribed unknowingly without reading the benefits of the feature
Part 2: Cancel Tinder Gold from iPhone or iPad
Step 1: Go to the ‘Settings’ option in iPhone and select your phone name followed by ‘iTunes and App Store’.

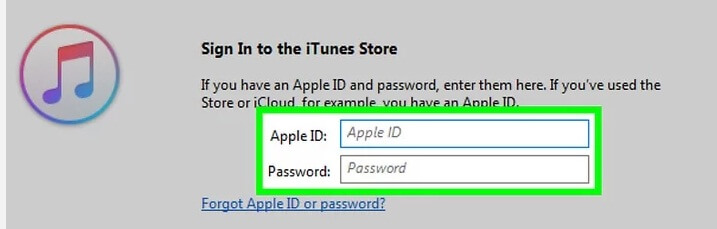
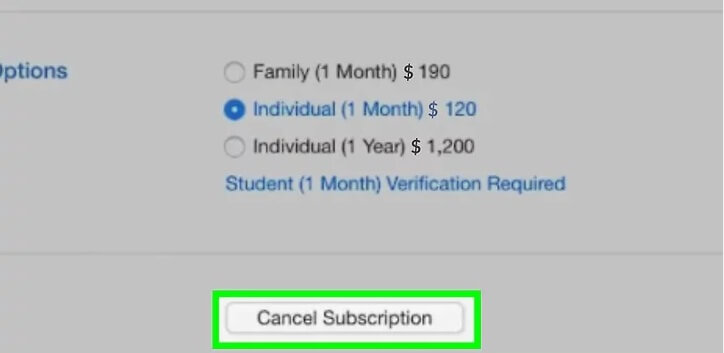
Step 2: Sign in to your Apple ID using the credentials and hit ‘Subscription’ option from the list. Select ‘Tinder’ and then press ‘Cancel Subscription’.
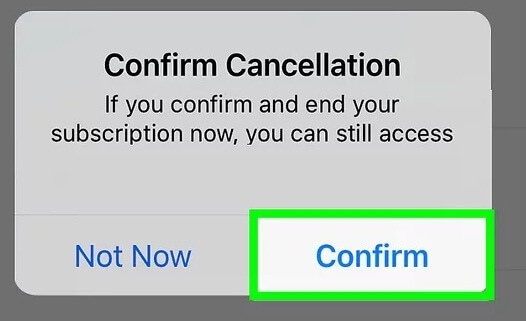
Step 3: Confirm the cancellation process by tapping ‘Confirm’ in the pop-up message to complete the procedure.
Part 3: Cancel Tinder Gold from Android
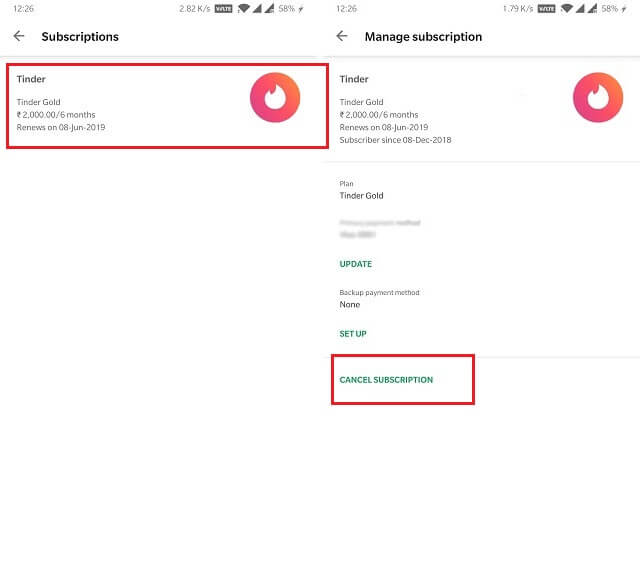
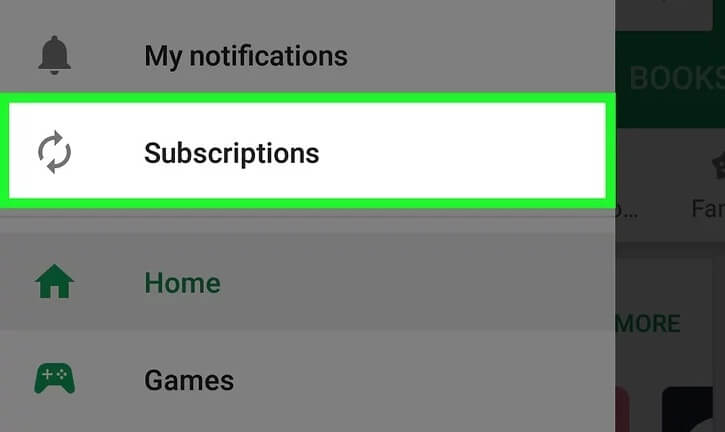
Step 1: Visit the ‘Play Store‘in your Android and tap the three horizontal lines at the left corner of the Play Store screen. From the expanded list, choose ‘Subscription’.
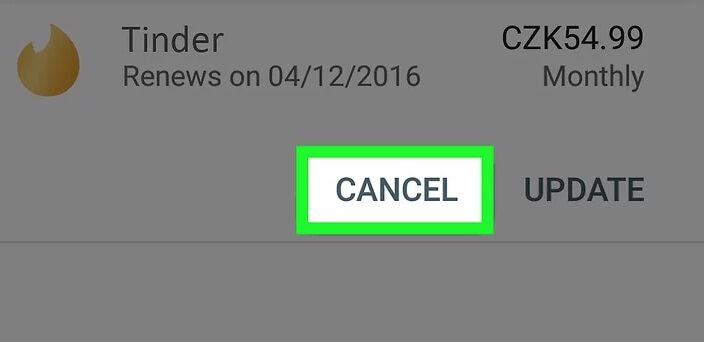
Step 2: Choose ‘Tinder’ in the next window and hit ‘Cancel’ button
Part 4: Cancel Tinder Gold from desktop/Tinder Online
Steps to cancel Tinder Gold from Desktop
If you have subscribed for Tinder Gold using iPhone then make use of the below steps to cancel through PC
Step 1: You must open iTunes in your computer by tapping the ‘All Apps’ option from the ‘Start’ menu. Then enter the Apple ID credentials to log in to your account.
Step 2: Follow the wizard in your Apple account tap ‘Account -> View my account -> Settings -> Manage -> Edit’. Hit the ‘Edit’ button near the Tinder icon and press ‘Cancel Subscription’ button.
The cancellation process ends by confirming it in the next pop up window.
Tinder Gold subscription Cancellation in an online mode
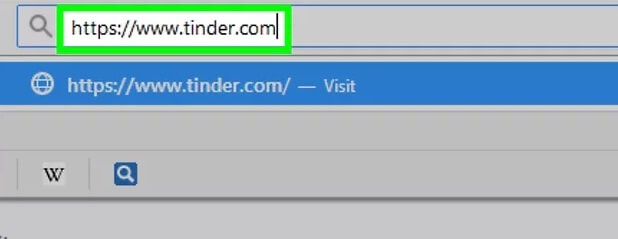
Step 1: Enter the official website of Tinder (www.Tinder.com) in the web browser.
Step 2: Log in to your profile and hit ‘Manage -> Cancel Subscription’ and finally ‘Confirm’ in the confirmation window which appears to complete the cancellation procedure.

Part 5: Do you have any alternative for Tinder Gold passport?
When you cancel the Tinder Gold feature then you will miss a unique functionality ‘Passport’ to fake the location of your profile. With the help of this option, you change the locality anytime and discover new profiles around the globe.
There exist an alternative even if you had unsubscribed to Tinder Gold passport feature. The ‘Virtual location’ apps are available in the digital market to spoof your location anywhere across boundaries.
If you are an iPhone user, then immediately download dr.fone app from Wondershare to explore its incredible features based on virtual location. Follow the below steps to implement the location spoofing techniques in your iPhone.
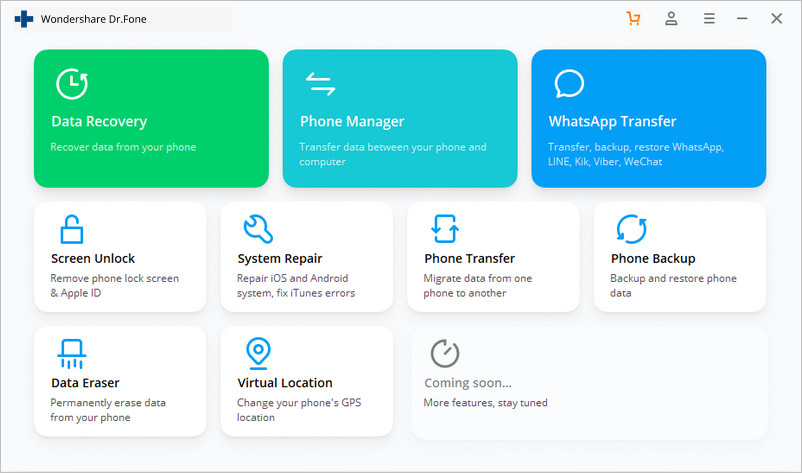
The dr.fone – an excellent location changer in one click and it is a prestigious product from Wondershare.
Remarkable uses
- You can trick any location-based apps by triggering this program in your device
- Mock your real-time location and prevent anonymous tracking
Steps to change the location in iPhone
Step 1: Click below button to install dr.fone in your iPhone
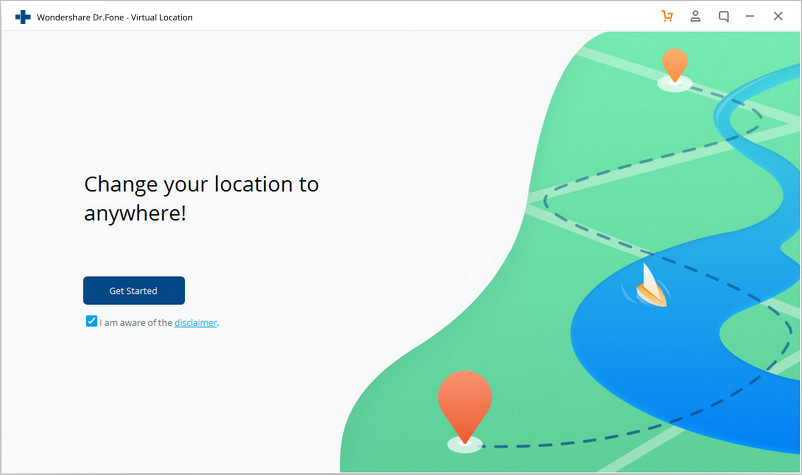
Step 2: Stimulate Virtual location
Hit the ‘Virtual Location’ option in the home screen and tap ‘Get Started’ button.
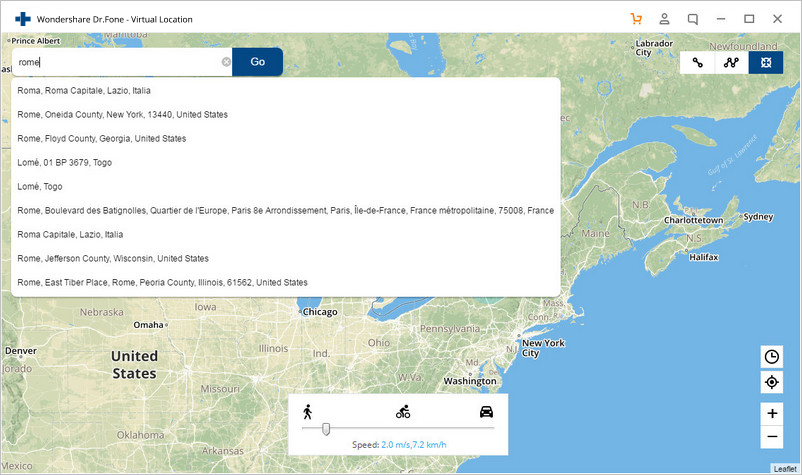
Step 3: Enter a fake address
The next screen shows the current location and now you can teleport it by hitting the third icon in the right top of the screen. Enter the new location details in the text box displayed at the top left side of the window.
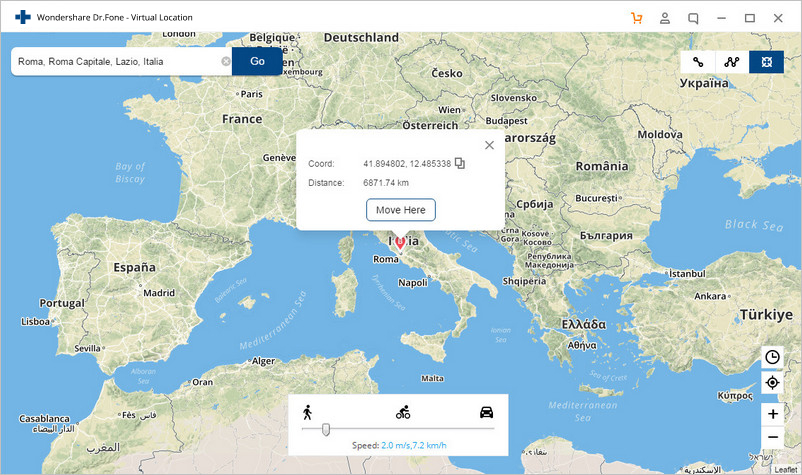
Step 4: Confirm the new location
The map view shifts to the new location and you have to confirm it by hitting the ‘Move Here’ button.
To verify the moved location details, open the map view in your iPhone. It displays the virtual space, which is set using dr.fone app.
If you are an Android user, then make use of the Android GPS changer apps in the Google Play. The ‘Location Changer’ app works well with Android devices.
Download and launch this app in your phone and pin the desired spot on the map view to change the location. You can pin multiple places on the map and set timings to shift the location after a specific time interval. You can clear the pins by hitting the ‘Done’ button. A long press on the map at the desired place is sufficient to set a pin. Add many pins on the map as per your desire and move your device location anywhere around the globe.
Conclusion
Therefore, changing location has become an inevitable task to maintain privacy and explore across boundaries. The dr.fone app assists you to enjoy the virtual location feature even if you cancel Tinder Gold feature in your dating app. It is high time to move on with your desired location to discover various functionalities in apps. Go ahead with dr.fone and spoof the location at your comfort zone.